06. Arduino Foundations

Bringing It All Together
Section outline
-
🚀 Bringing It All Together – Run, Test, Debug
Now that everything is wired and coded, it’s time to test your first interactive Arduino project!
-
✅ Steps to Run:
- Open the Arduino IDE on your computer.
- Select the correct board: Tools > Board > Arduino UNO.
- Select the correct port: Tools > Port (usually something like COM3 or ttyUSB0).
- Copy and paste the sample code into the IDE.
- Click the Upload button (right arrow icon).
- Wait for the message Done uploading in the status bar.
🧪 How to Test:
- Press the button on the breadboard.
- If the LED lights up while pressing and turns off when released – 🎉 it works!
- If not, don’t worry — that’s what debugging is for.
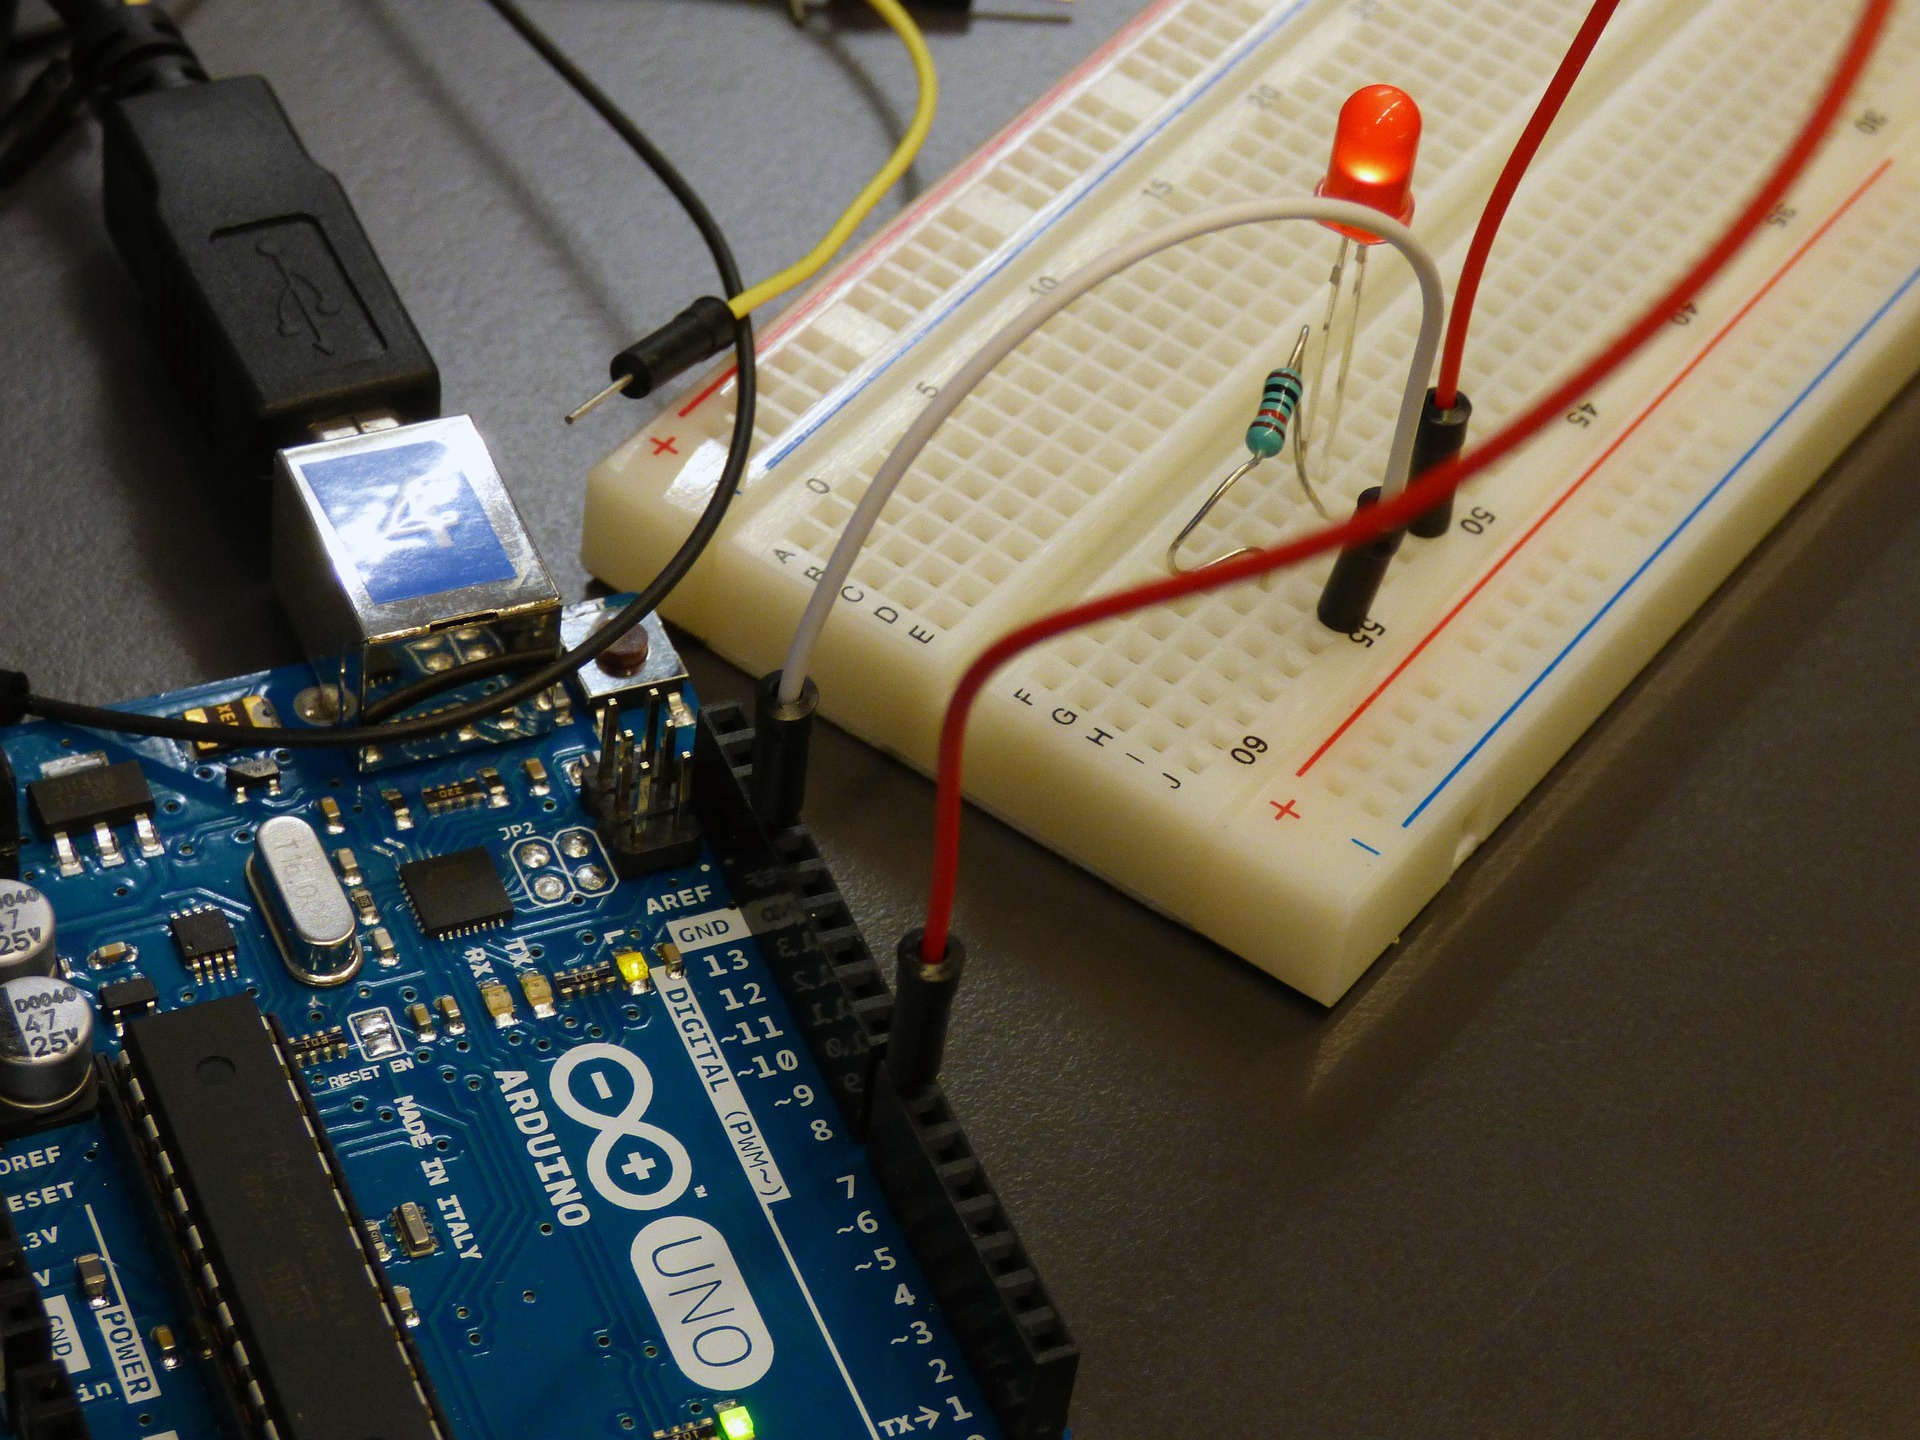
Your set-up will look something similar, do check the PIN's ID and change the code accordingly.
-