06. Arduino Foundations

Button + LED
Section outline
-
🚦 Our First Interaction – Button + LED
Now that you’ve seen how to writre a code to blink an LED, let’s make things more interactive! In this section, we’ll build a simple circuit where pressing a button will turn an LED on or off. This introduces how inputs (like buttons) can control outputs (like LEDs).
-
🧩 Step-by-Step Instructions:
- Connect the LED:
- Connect the longer leg (anode) of the LED to digital pin 13 via a 220Ω resistor.
- Connect the shorter leg (cathode) to the GND rail on the breadboard.
- Set up the button:
- Place the button on the breadboard across the gap so it straddles the middle.
- Connect one leg of the button to 5V on the Arduino.
- Connect the opposite leg to digital pin 2 and also to GND via a 10kΩ resistor (this is called a pull-down resistor).
🔌 Circuit Diagram:
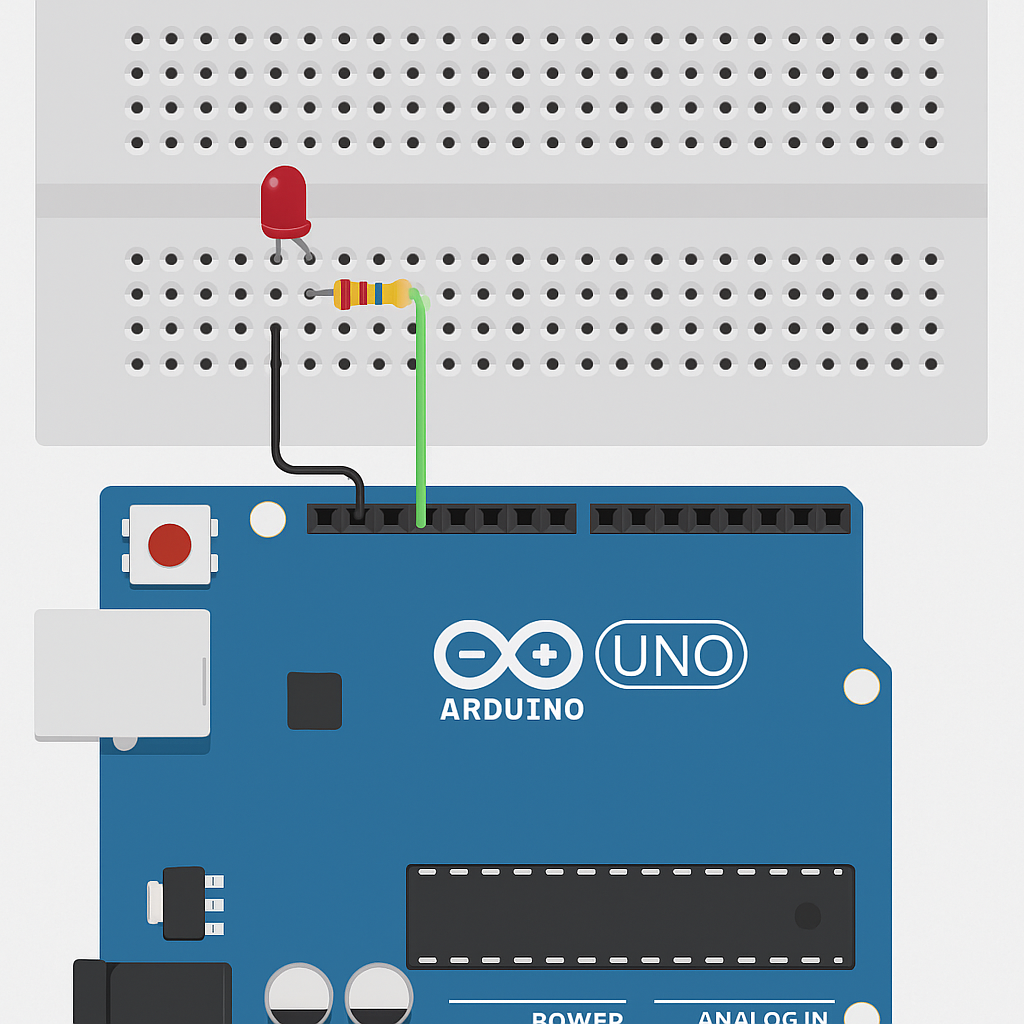
- Connect the LED: